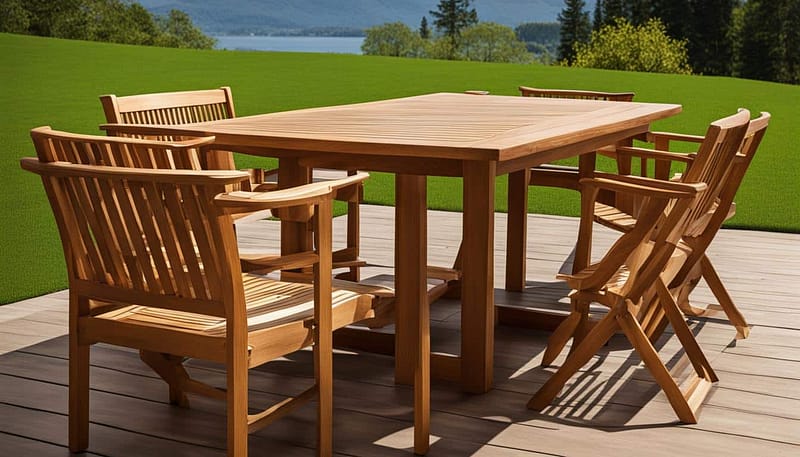
Welcome to your easy guide on how to stain outdoor wood furniture! If you have weathered and worn pieces that need a little rejuvenation, staining is the perfect solution. By following these simple steps, you can achieve professional results and enhance the look of your outdoor furniture.
Staining outdoor wood furniture not only protects it from the elements, but it also prolongs its lifespan and prevents rot. It’s a great way to bring out the natural beauty of the wood and give your furniture a fresh, updated look. Choosing the right stain is essential to achieve the desired results.
Before you start the staining process, it’s important to properly prepare the wood. This includes cleaning the furniture, removing any existing finish, and sanding it smooth. Taking the time to prepare the wood ensures that the stain adheres properly and provides long-lasting results.
When it comes to choosing a stain for outdoor wood furniture, consider using a stain specifically designed for outdoor use. This ensures durability and weather resistance. You can choose between oil-based stains or water-based stains, depending on your desired look and preferences.
Proper application is key to achieving a professional-looking finish. Start by applying the stain with a brush or cloth, working in the direction of the wood grain. Apply thin, even coats, allowing each coat to dry before applying the next. If you want a darker color, multiple coats can be applied. Remember to remove any excess stain and let the furniture dry completely before using it.
After staining, it’s essential to protect the wood by sealing it. Apply a wood sealer or protector to prevent water damage, UV rays, and other environmental factors from harming the wood. Follow the manufacturer’s instructions and apply the sealer in even strokes, following the direction of the grain. Multiple coats may be necessary for optimal protection.
To keep your stained outdoor wood furniture looking its best, regular maintenance is important. Periodically clean the furniture with a mild detergent and warm water to remove dirt and debris. If the stain starts to fade or wear off, you can touch it up with a matching stain. Gently sand the affected area, apply the stain, and blend it in with the surrounding wood.
In conclusion, staining outdoor wood furniture is a cost-effective way to breathe new life into your outdoor space. By following these steps, you can achieve professional-looking results and ensure the longevity of your furniture. Whether you’re refreshing existing pieces or staining newly purchased ones, proper preparation, application, and maintenance are key to enjoying beautiful and durable outdoor wood furniture for years to come.
Key Takeaways:
- Staining outdoor wood furniture protects it from the elements and extends its lifespan.
- Properly preparing the wood is crucial for successful staining.
- Choose a stain specifically designed for outdoor use.
- Apply the stain in thin, even coats, and allow each coat to dry before applying the next.
- Seal the wood to protect it from environmental damage.
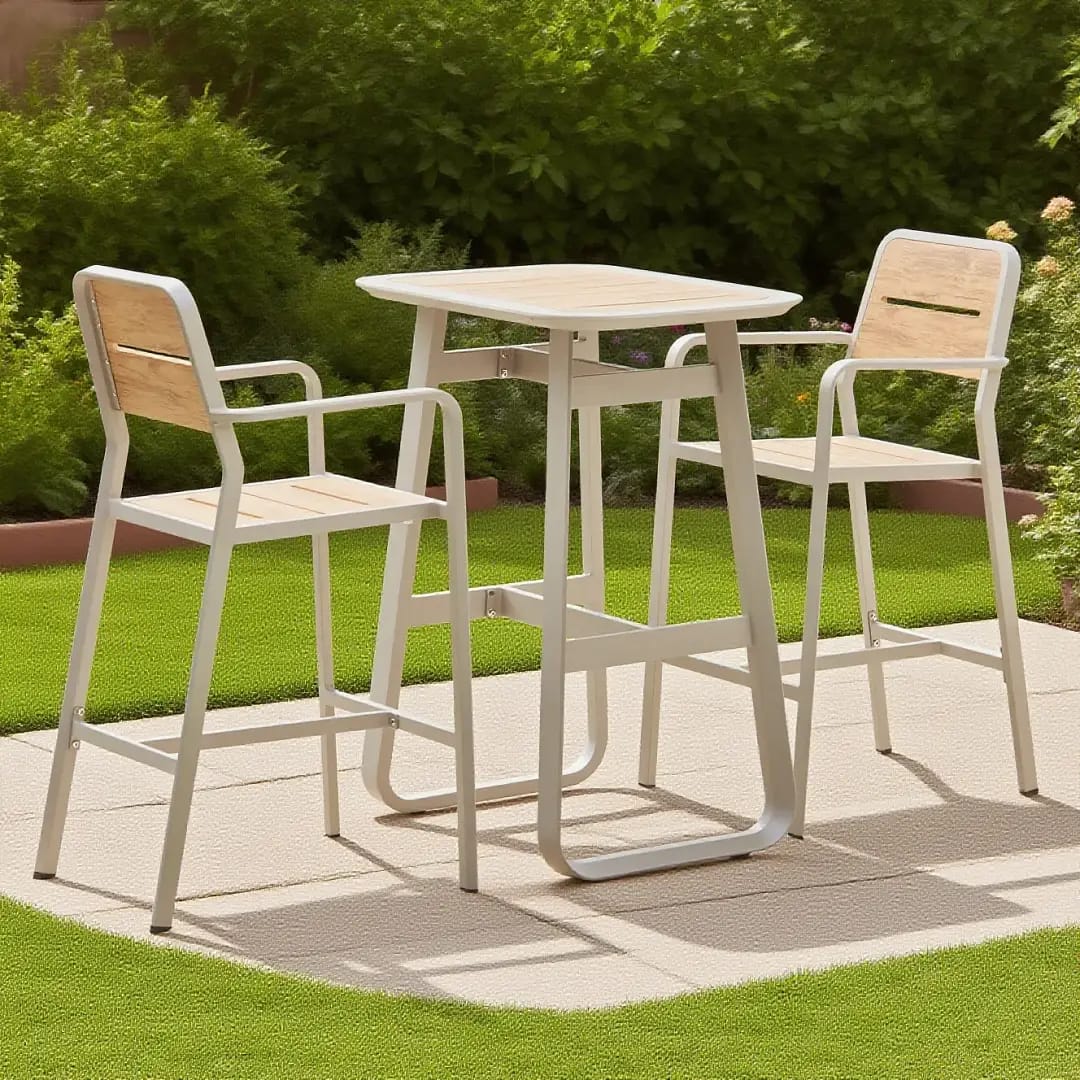
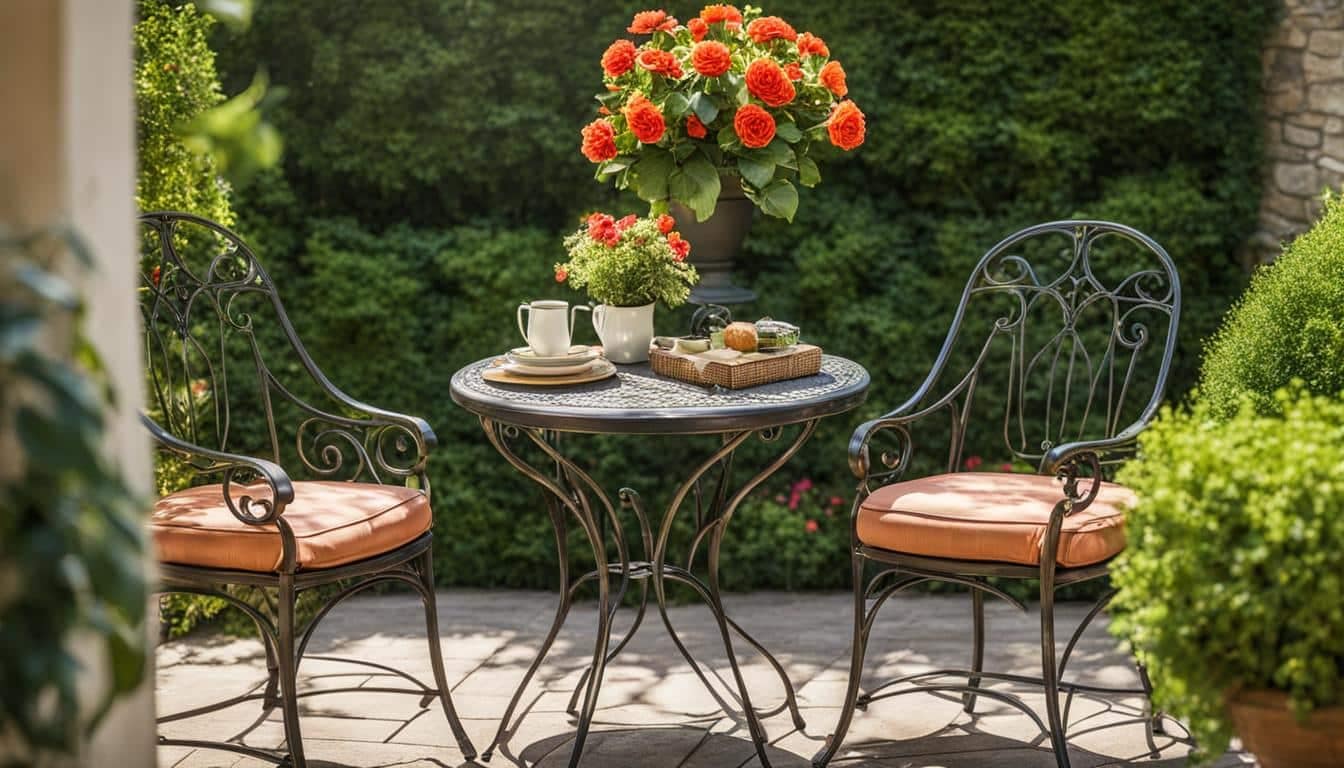
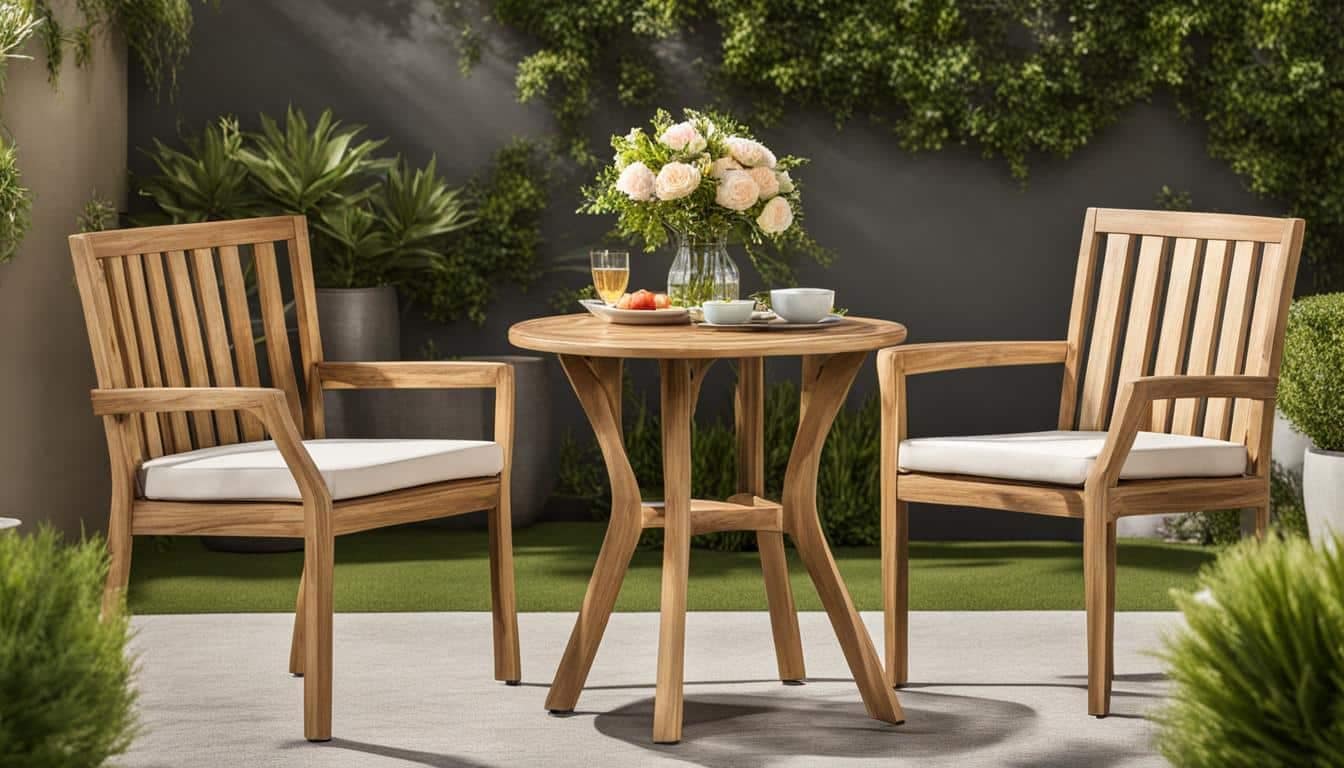
Why Stain Outdoor Wood Furniture?
Staining outdoor wood furniture is a popular DIY project that offers numerous benefits. By taking the time to stain your outdoor furniture, you can enhance its durability, protect it from the elements, and give it a fresh, updated look. Whether you have a wooden bench, a patio table, or a set of chairs, staining can help prolong their lifespan and keep them looking their best for years to come.
- Increased Protection: Outdoor wood furniture is constantly exposed to harsh weather conditions, including sun, rain, and humidity. Over time, this exposure can lead to damage such as warping, cracking, and rot. Staining provides a protective barrier that helps prevent moisture absorption and minimizes the effects of UV rays, keeping the wood in better condition.
- Enhanced Aesthetics: Staining not only protects the wood but also enhances its natural beauty. It brings out the grain and texture, highlighting the unique characteristics of each piece. Whether you prefer a natural, rustic look or a more contemporary style, there are various stain colors and finishes available to suit your personal taste and complement your outdoor space.
- Easy Maintenance: The right stain can make maintenance a breeze. Stained wood furniture is easier to clean and requires less maintenance compared to bare wood. Stains provide a smooth surface that repels dirt, making it simple to wipe away spills and debris. Additionally, if any areas of the stain start to fade or wear off, it’s easy to touch up and restore the furniture’s appearance.
To achieve the best results when staining your outdoor wood furniture, it’s important to choose the right stain for your specific needs. Consider factors such as the type of wood, the desired level of protection, and the overall aesthetic you want to achieve. By following proper preparation and application techniques, as outlined in this guide, you’ll be able to enjoy beautifully stained outdoor furniture that withstands the elements and enhances your outdoor living space.
Table: Recommended Types of Stain for Outdoor Wood Furniture
- Oil-Based Stains: Oil-based stains offer excellent durability and protection against moisture. They penetrate deep into the wood grain, providing a long-lasting finish that resists cracking and peeling. These stains are ideal for dense hardwoods and areas with high foot traffic. However, keep in mind that oil-based stains typically require longer drying times and emit stronger odors during application.
- Water-Based Stains: Water-based stains are a popular choice for DIY projects due to their ease of use and quick drying times. They offer good protection against water damage and UV rays and are available in a wide range of colors. Water-based stains are suitable for both softwoods and hardwoods and are generally low in VOCs (volatile organic compounds), making them a more environmentally friendly option. However, they may not penetrate as deeply into the wood as oil-based stains.
- Gel Stains: Gel stains are thicker in consistency compared to traditional stains and provide better control during application. They are ideal for vertical surfaces or intricate designs, as they don’t drip or run. Gel stains work well on both softwoods and hardwoods, offering good coverage and color richness. However, they may not penetrate deeply into the wood grain and may require multiple coats for desired opacity.
When selecting a stain, always read the manufacturer’s instructions and consider the specific requirements of your outdoor furniture. By choosing the right stain and following proper application techniques, you can achieve beautiful, long-lasting results that protect and enhance your outdoor wood furniture.
Preparing for Staining
Before you begin the staining process, it’s important to properly prepare the wood. Taking the time to do this step will ensure that the stain adheres properly and provides long-lasting results. Follow these essential steps to prepare your outdoor wood furniture for staining.
Gather Your Tools and Supplies
- Protective gloves
- Plastic sheeting
- Sandpaper
- Sandpaper block or power sander
- Tack cloth or a clean rag
- Wood cleaner or mild detergent
- Scrub brush or sponge
- Bucket of water
Have all your tools and supplies ready before you start. This will make the process smoother and more efficient.
Clean the Furniture
Begin by cleaning the furniture to remove any dirt, grime, or mildew. Use a wood cleaner or mild detergent diluted with water. Scrub the furniture thoroughly with a scrub brush or sponge, paying extra attention to any heavily soiled areas. Rinse the furniture with clean water and allow it to dry completely.
Sand the Wood
Next, sand the wood to remove any existing finish, rough patches, or imperfections. Start with a coarse-grit sandpaper to remove the old finish and then switch to a finer grit for a smoother finish. Sand in the direction of the wood grain to avoid damaging the surface. Use a sandpaper block or a power sander for larger pieces of furniture. After sanding, use a tack cloth or a clean rag to remove any dust or debris.
Now that your outdoor wood furniture is properly prepared, you are ready to move on to the next step: choosing the right stain.
Choosing the Right Stain
When it comes to staining your outdoor wood furniture, selecting the right stain is essential for achieving the best results. Consider the following factors to make an informed decision:
1. Outdoor Durability:
Opt for a stain specifically designed for outdoor use to ensure that it can withstand the elements. Look for a stain that offers protection against UV rays, moisture, and mildew.
2. Oil-Based or Water-Based:
There are two main types of stains: oil-based and water-based. Oil-based stains penetrate deeply into the wood, providing excellent protection and a rich, natural look. Water-based stains dry quicker and have less odor, making them more convenient to use. Consider the pros and cons of each type based on your specific needs.
3. Color and Transparency:
Stains come in a variety of colors and levels of transparency. Consider the color scheme of your outdoor space and the desired level of opacity. Transparent stains allow the natural beauty of the wood to shine through, while semi-transparent and solid stains offer more coverage and color options.
Remember to read the product labels and follow the manufacturer’s instructions for proper application. Take into account the type of wood you are staining and any specific recommendations from the stain manufacturer. By choosing the right stain, you can ensure that your outdoor wood furniture not only looks beautiful but also remains protected and durable for years to come.

Applying the Stain
Once you have chosen the right stain for your outdoor wood furniture, it’s time to apply it and bring your pieces to life. Follow these staining techniques for a successful DIY project.
Clean and Prepare the Surface
Before you begin staining, make sure the surface is clean and free of any dirt or debris. Use a mild detergent and warm water to scrub the furniture, and let it dry completely before proceeding. This step is essential to ensure that the stain adheres evenly and provides a smooth finish.
Apply Thin, Even Coats
When applying the stain, use a brush or cloth and work in the direction of the wood grain. Start with thin, even coats, making sure to cover the entire surface. Avoid applying the stain too thickly, as this can lead to an uneven finish or excess pooling. Allow each coat to dry thoroughly before applying the next one.
Remove Excess Stain and Let It Dry
After applying the stain, use a clean cloth to remove any excess product. This will help prevent the stain from drying unevenly or leaving sticky residue on the furniture. Allow the stained furniture to dry completely before using or adding any additional coats. This drying time is crucial for the stain to fully penetrate the wood and provide optimal protection and color.
By following these staining techniques, you can achieve professional-looking results and enhance the beauty of your outdoor wood furniture. Now that you’ve applied the stain, it’s time to move on to the next step of sealing and protecting the wood for long-lasting durability.
Sealing and Protecting the Wood
Once you have stained your outdoor wood furniture, it is crucial to take the necessary steps to protect it from the elements. Sealing the wood will help prevent water damage, UV rays, and other environmental factors from causing harm. Applying a wood sealer or protector is an essential part of the staining process.
When choosing a wood sealer, opt for a product that is specifically designed for outdoor use. Look for one that offers weatherproofing properties and provides long-lasting protection. Follow the manufacturer’s instructions for application, as different sealers may have slightly different techniques.
Applying the sealer:
- Clean the furniture: Before applying the sealer, ensure that the furniture is clean and free from dust or debris. Use a mild detergent and warm water to gently clean the surface, and allow it to dry completely.
- Prepare the area: Find a well-ventilated area to work in and cover any nearby surfaces or plants to avoid accidental staining.
- Apply the sealer: Using a brush or roller, apply the sealer in even strokes, following the direction of the wood grain. Make sure to cover all surfaces, including the undersides and hard-to-reach areas.
- Multiple coats: Depending on the product, multiple coats may be necessary for optimal protection. Allow each coat to dry completely before applying the next.
- Drying time: After applying the final coat, allow the furniture to dry thoroughly before using. This typically takes at least 24 hours, but refer to the product instructions for specific drying times.
By sealing your stained outdoor wood furniture, you are adding an extra layer of protection that will help it withstand the outdoor elements. Regularly inspect the furniture and reapply the sealer as needed to keep it looking its best and prolong its lifespan.

Maintaining and Touching Up Stained Furniture
Once you have stained your outdoor wood furniture, it’s important to maintain its beauty and durability over time. Regular maintenance will help keep your furniture looking its best and protect it from the elements. Here’s how to properly maintain and touch up your stained furniture:
Cleaning:
- Periodically clean your stained furniture with a mild detergent and warm water. This will help remove dirt, grime, and any potential stains.
- Gently scrub the surface with a soft brush or sponge, making sure to go with the grain of the wood. Avoid using abrasive cleaners or tools that could damage the stain.
- Rinse thoroughly and allow the furniture to dry completely before using it again.
Touching Up:
- If the stain on your furniture starts to fade or wear off in certain areas, you can easily touch it up to restore its original beauty.
- Start by gently sanding the affected area with a fine-grit sandpaper. This will create a smooth surface for the new stain to adhere to.
- Apply a small amount of matching stain to the sanded area using a brush or cloth.
- Blend the new stain into the surrounding wood by feathering the edges with a clean cloth. This will help ensure a seamless finish.
- Allow the touched-up area to dry completely before using the furniture.
By regularly cleaning and touching up your stained outdoor wood furniture, you can maintain its durability and appearance for years to come. Remember to always follow the manufacturer’s instructions for cleaning and using the specific stain products you have chosen. With proper care, your stained furniture will continue to enhance your outdoor space and provide a comfortable and inviting environment.
Conclusion
Staining outdoor wood furniture is a cost-effective and rewarding way to transform your outdoor space. By following these simple steps, you can achieve professional-looking results and ensure the longevity of your furniture.
Proper preparation is essential for a successful staining project. Take the time to clean the furniture, remove any existing finish, and sand it smooth. This will ensure that the stain adheres properly and provides long-lasting results.
Choosing the right stain is also crucial. Opt for a stain specifically designed for outdoor use to ensure durability and weather resistance. Whether you prefer oil-based or water-based stains, be sure to read the product labels and select the one that best suits your needs.
Once you’ve applied the stain, don’t forget to seal and protect the wood. Applying a wood sealer or protector will safeguard it against water damage, UV rays, and other environmental factors.
Regular maintenance is key to keeping your stained outdoor wood furniture looking its best. Clean it periodically with a mild detergent and warm water, and touch up the stain as needed to maintain its vibrant appearance.
With proper preparation, application, and maintenance, you can enjoy beautiful and durable outdoor wood furniture for years to come. So go ahead, grab your stain, and give your outdoor furniture a stunning makeover!
FAQ
Why should I stain outdoor wood furniture?
Staining outdoor wood furniture helps protect it from the elements, enhances its natural beauty, and gives it a fresh, updated look.
How do I prepare the wood before staining?
Properly preparing the wood includes cleaning the furniture, removing any existing finish, and sanding it smooth to ensure the stain adheres properly.
What factors should I consider when choosing a stain for outdoor wood furniture?
Choose a stain specifically designed for outdoor use, consider whether to use oil-based or water-based stains, and read product labels to select the one that best suits your needs.
How do I apply the stain?
Apply the stain with a brush or cloth, working in the direction of the wood grain. Apply thin, even coats, allow each coat to dry before applying the next, and remove any excess stain before letting the furniture dry completely.
How do I seal and protect the wood after staining?
Apply a wood sealer or protector in even strokes, following the direction of the grain. Multiple coats may be necessary for optimal protection.
How do I maintain and touch up stained furniture?
Periodically clean the furniture with a mild detergent and warm water. If the stain fades or wears off, gently sand the affected area, apply a matching stain, and blend it in with the surrounding wood.